How to Post on Instagram With an API in 2026 (Step-by-Step)
Instagram's Graph API works, but it's the strictest of Meta's posting APIs. Personal accounts can't connect at all. You need a Business or Creator account.
App Review takes weeks and demands a recorded walkthrough of your app using each permission. Publishing isn't a single POST either. You create a container, poll until it's ready, then publish.
PostPeer gives you a single endpoint that handles all of that. OAuth is done for you. The container-and-publish dance is done for you. App Review is done for you. Here's how to set it up.
What you need
- A PostPeer account (free tier works)
- Your access key from the dashboard
- An Instagram Business or Creator account (personal accounts cannot post via API, this is Meta's limit, not ours)
Step 1: Get your API key
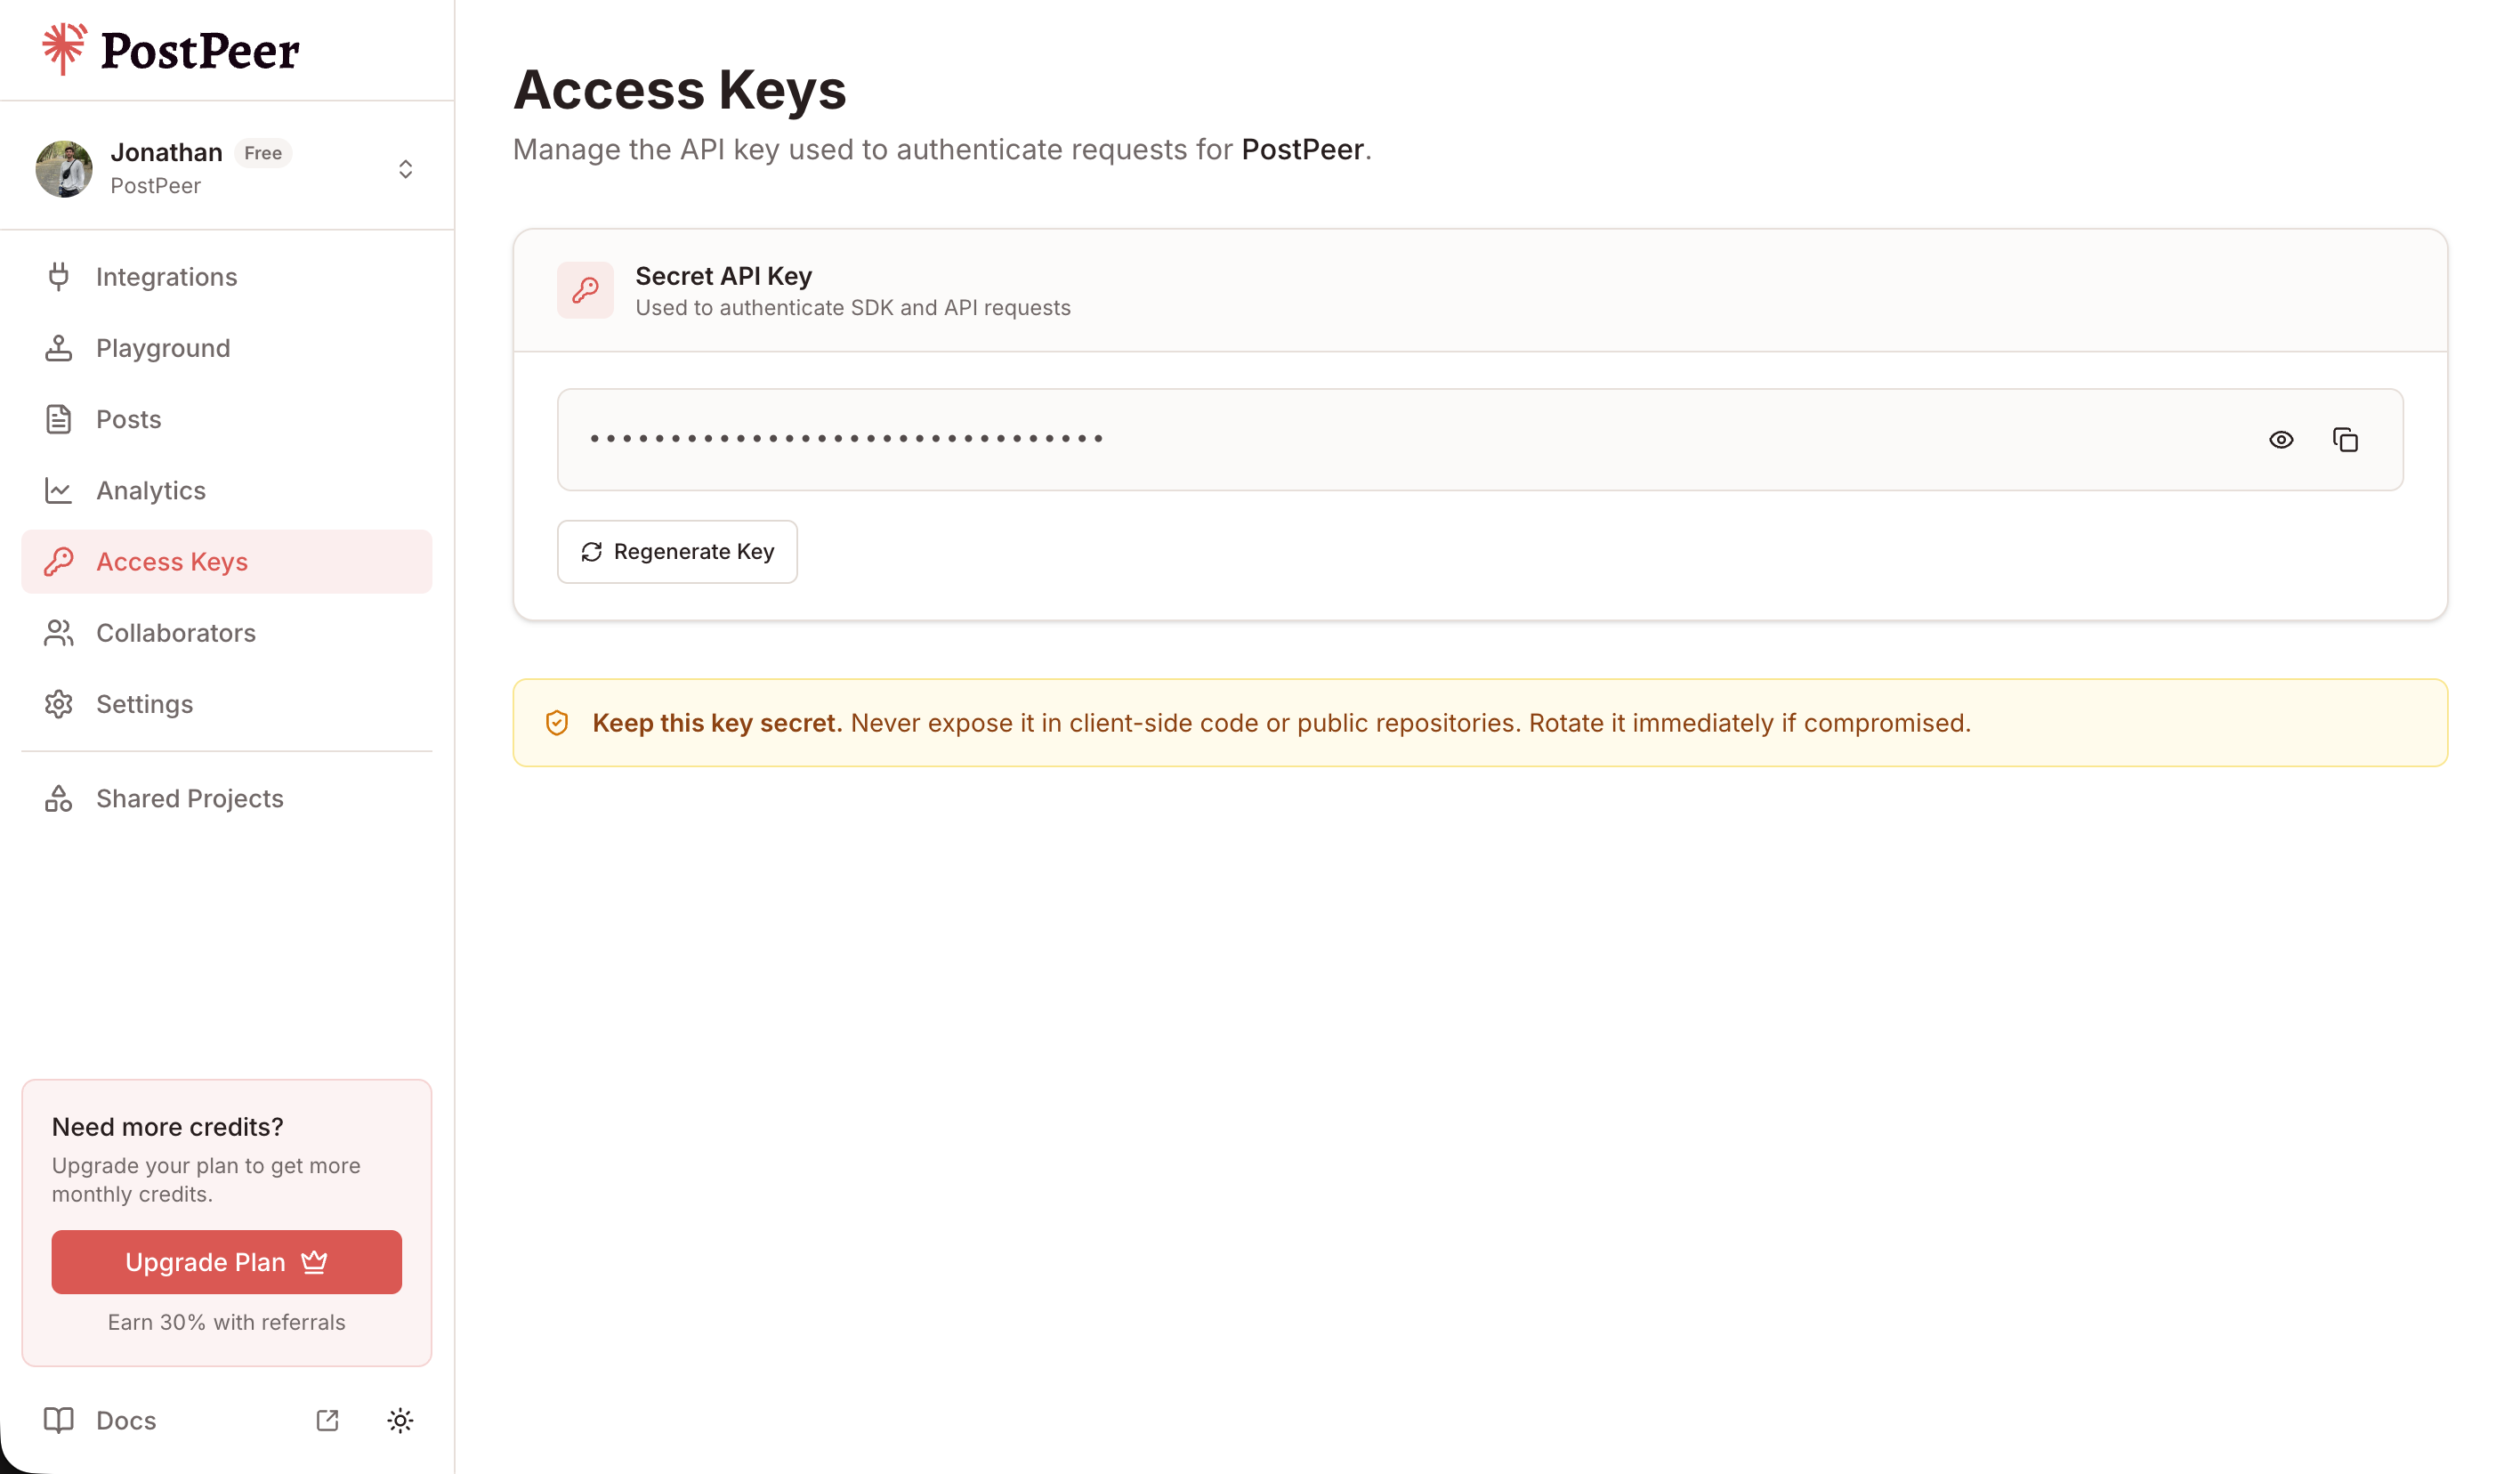
Sign up at PostPeer, head to the dashboard, and grab your access key from the Access Keys page. Every request uses the x-access-key header:
-H "x-access-key: YOUR_API_KEY"Grab your API key from the Access Keys page in your dashboard. Treat it like a password.
Step 2: Connect your Instagram account
PostPeer handles the OAuth flow. Hit the connect endpoint to get an authorization URL:
curl https://api.postpeer.dev/v1/connect/instagram \
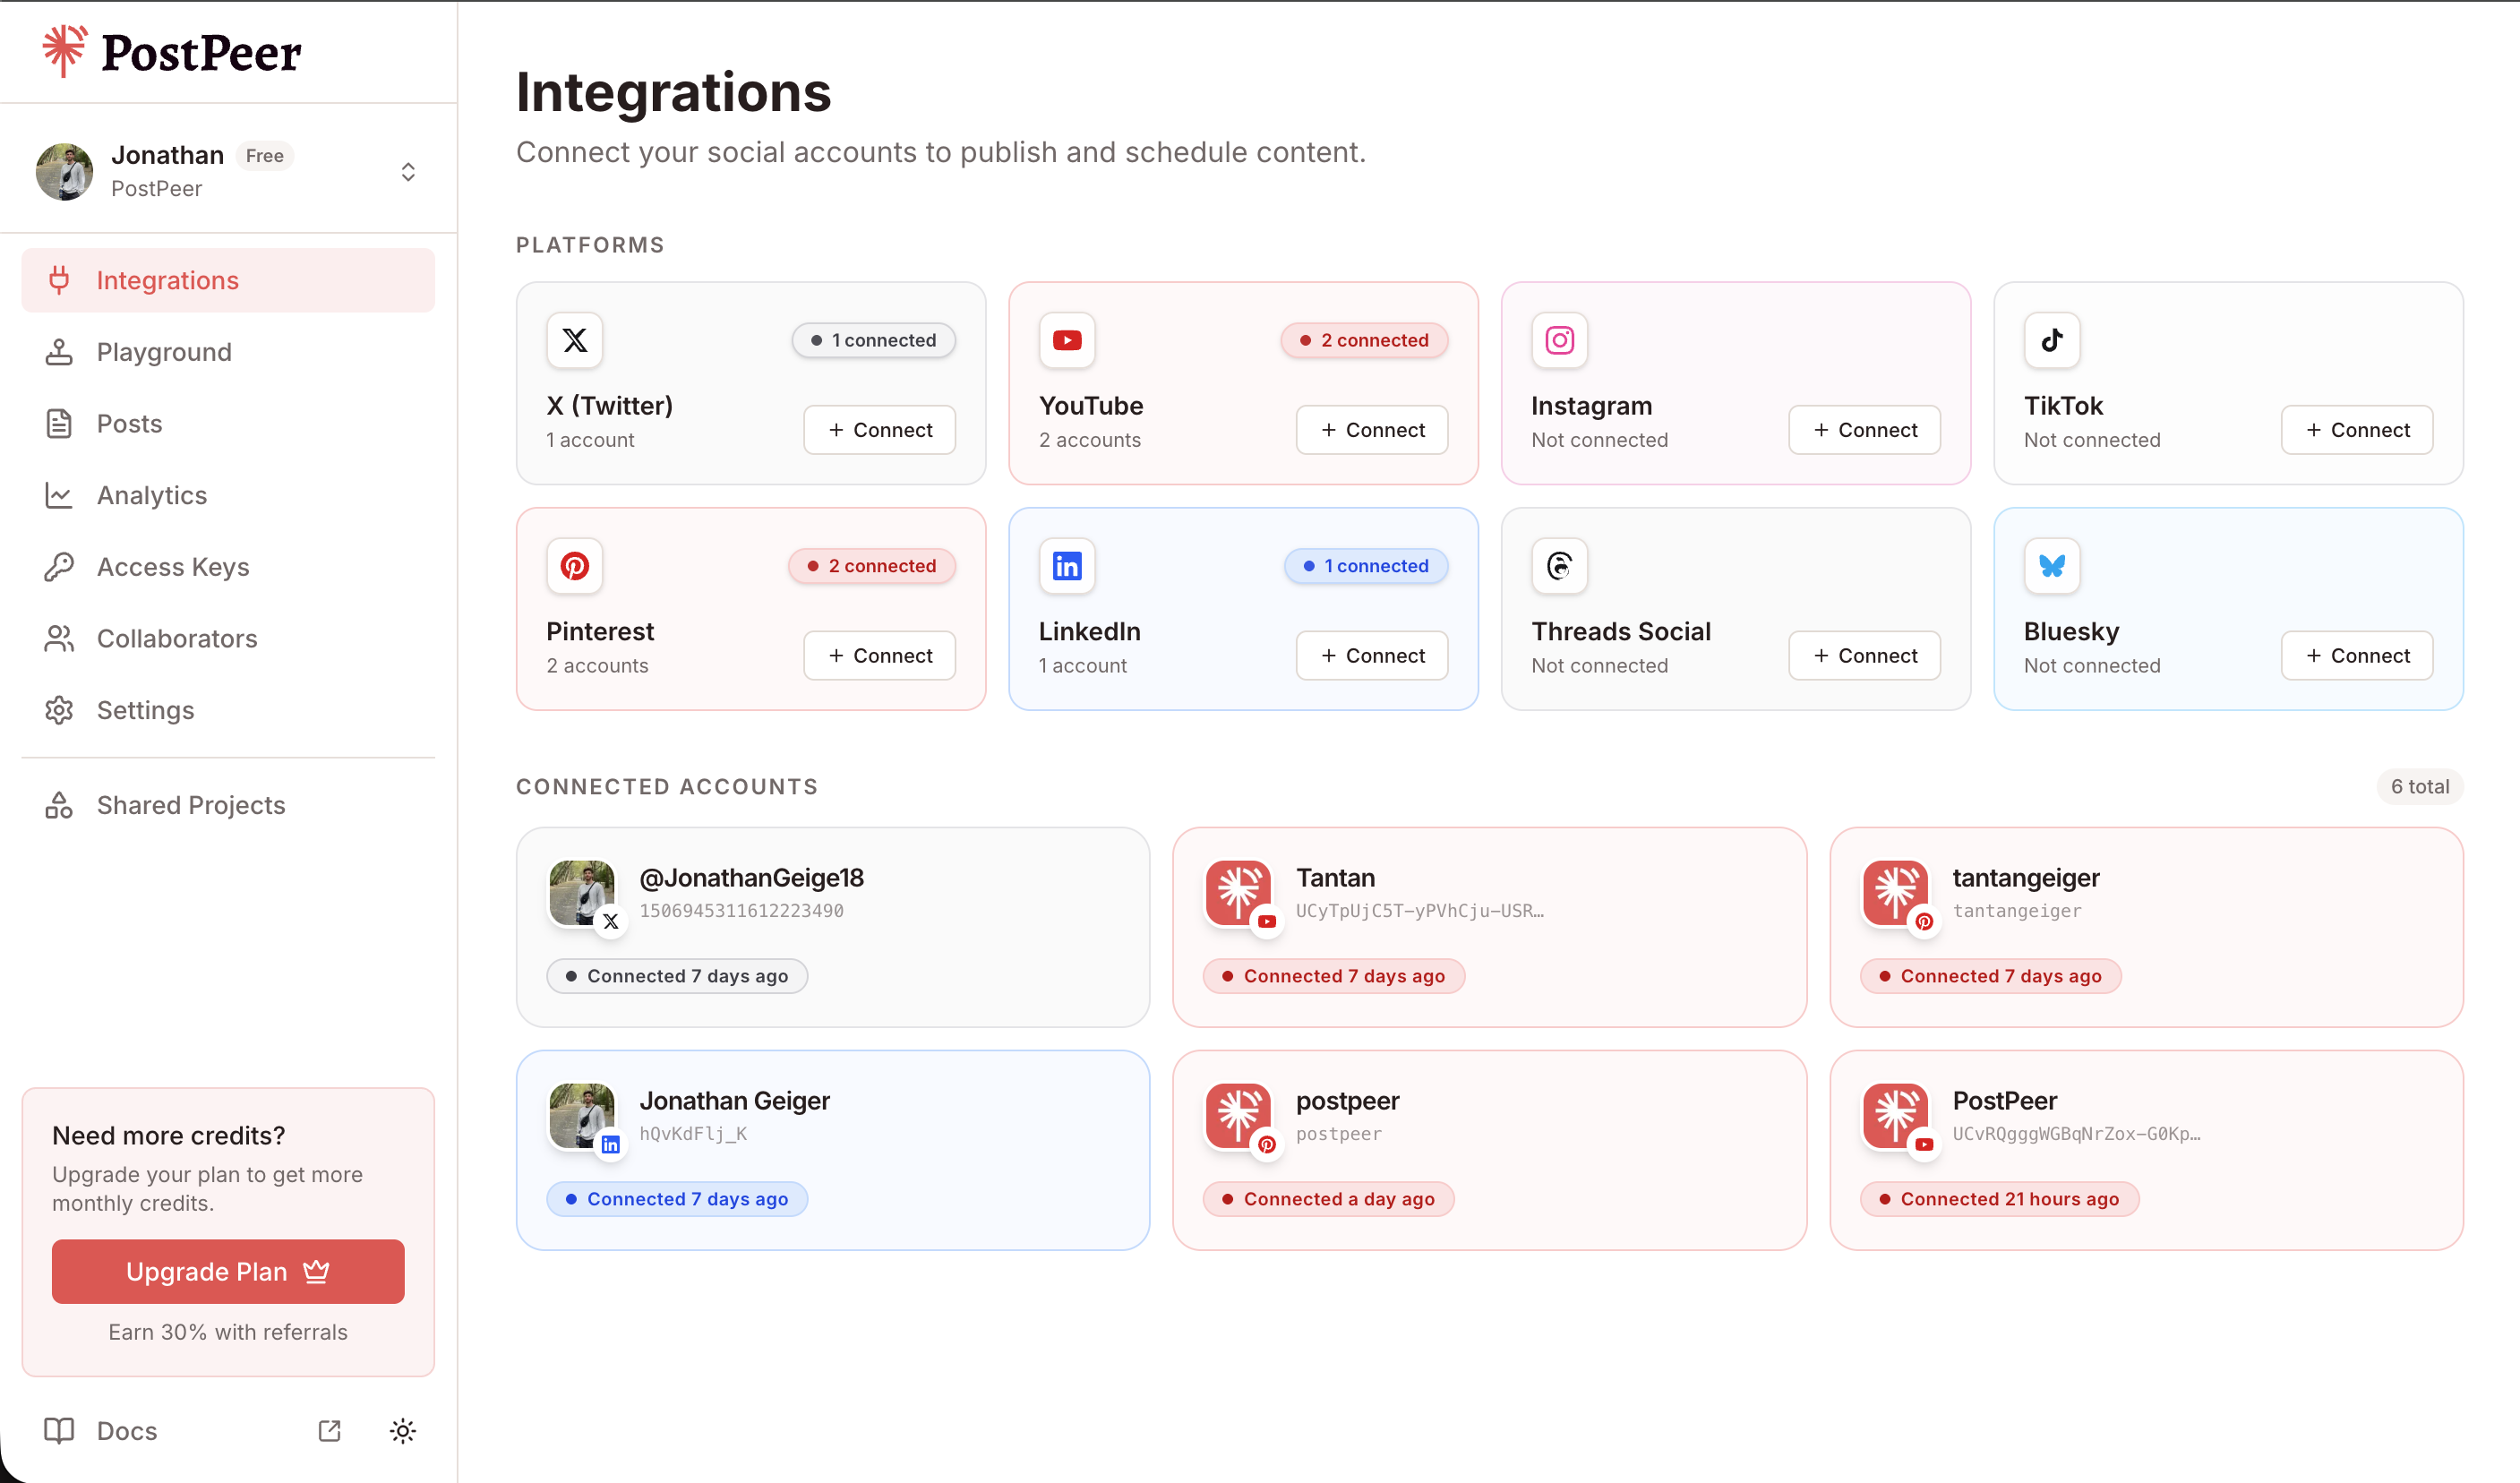
-H "x-access-key: YOUR_API_KEY"You'll get back a URL. Open it in a browser, authorize the app, and your Instagram Business account is linked. Grab the account ID from the integrations endpoint:
curl https://api.postpeer.dev/v1/connect/integrations \
  -H "x-access-key: YOUR_API_KEY"
The response includes an id for each connected account. That's your accountId for posting. You can also do this from the PostPeer dashboard if you'd rather click a button.
Step 3: Post a single image (feed post)
Instagram doesn't allow text-only posts. Every feed post needs one image or one video. Captions are capped at 2,200 characters. Single-image feed post:
curl -X POST https://api.postpeer.dev/v1/posts \
  -H "x-access-key: YOUR_API_KEY" \
  -H "Content-Type: application/json" \
  -d '{
    "content": "Behind the scenes from this week. #BTS",
    "platforms": [
      { "platform": "instagram", "accountId": "your-ig-id" }
    ],
    "mediaItems": [
      { "type": "image", "url": "https://your-cdn.com/photo.jpg" }
    ],
    "publishNow": true
  }'
PostPeer creates the media container at /{ig-user-id}/media, polls until Instagram reports it's ready, then triggers /{ig-user-id}/media_publish. The response includes the published media ID and permalink.
Step 4: Post a Reel
Same shape, swap type: "image" for type: "video". Instagram automatically classifies vertical short-form video as a Reel:
curl -X POST https://api.postpeer.dev/v1/posts \
  -H "x-access-key: YOUR_API_KEY" \
  -H "Content-Type: application/json" \
  -d '{
    "content": "Quick tip: stop debugging by adding print statements. #devtips",
    "platforms": [
      { "platform": "instagram", "accountId": "your-ig-id" }
    ],
    "mediaItems": [
      { "type": "video", "url": "https://your-cdn.com/reel.mp4" }
    ],
    "publishNow": true
  }'
Reels need to be 9:16 aspect ratio, between 3 and 90 seconds, MP4 or MOV. PostPeer validates basic specs before kicking off the upload so you don't burn credits on rejected media.
Step 5: Post a carousel (2–10 items)
Pass multiple mediaItems. PostPeer creates a child container per item, waits for each to be ready, then creates a parent CAROUSEL container and publishes it — all in one API call. Mix of images and videos is allowed.
curl -X POST https://api.postpeer.dev/v1/posts \
  -H "x-access-key: YOUR_API_KEY" \
  -H "Content-Type: application/json" \
  -d '{
    "content": "Recap from yesterday's launch event.",
    "platforms": [
      { "platform": "instagram", "accountId": "your-ig-id" }
    ],
    "mediaItems": [
      { "type": "image", "url": "https://your-cdn.com/1.jpg" },
      { "type": "image", "url": "https://your-cdn.com/2.jpg" },
      { "type": "video", "url": "https://your-cdn.com/3.mp4" }
    ],
    "publishNow": true
  }'
Note: videos inside a carousel are treated as standard videos, not Reels. Reels can't be embedded in carousels per Instagram's spec, so the cover/thumbnail/share-to-feed flags for Reels don't apply here.
Scheduling an Instagram post
Replace publishNow with scheduledFor and timezone. The post sits in a queue and goes out at the right moment:
curl -X POST https://api.postpeer.dev/v1/posts \
  -H "x-access-key: YOUR_API_KEY" \
  -H "Content-Type: application/json" \
  -d '{
    "content": "Weekly product update going live Monday morning.",
    "platforms": [
      { "platform": "instagram", "accountId": "your-ig-id" }
    ],
    "mediaItems": [
      { "type": "image", "url": "https://your-cdn.com/weekly.jpg" }
    ],
    "scheduledFor": "2026-06-15T09:00:00",
    "timezone": "America/New_York"
  }'
Scheduled and published posts show up in the Posts dashboard, where you can filter by status, platform, and date.
The free Instagram post scheduler is the same API behind a UI. Useful for testing the flow before wiring it into code.
Cross-post a vertical video to Reels, TikTok, and YouTube Shorts
The whole point of a multi-platform API. One vertical video, one request, three platforms:
curl -X POST https://api.postpeer.dev/v1/posts \
  -H "x-access-key: YOUR_API_KEY" \
  -H "Content-Type: application/json" \
  -d '{
    "content": "New tutorial out now!",
    "platforms": [
      { "platform": "instagram", "accountId": "your-ig-id" },
      {
        "platform": "tiktok",
        "accountId": "your-tt-id",
        "platformSpecificData": { "privacyLevel": "PUBLIC_TO_EVERYONE", "draft": false }
      },
      {
        "platform": "youtube_shorts",
        "accountId": "your-yt-id"
      }
    ],
    "mediaItems": [
      { "type": "video", "url": "https://your-cdn.com/vertical.mp4" }
    ],
    "publishNow": true
  }'
PostPeer adapts the upload flow per platform. Instagram does the container plus publish dance. TikTok uses Content Posting init/poll. Shorts uses YouTube's resumable upload. From your side, it's one request.
Pulling Instagram analytics
PostPeer also exposes an Instagram Analytics API on the same /v1/analytics endpoint. Likes and comments per media item:
curl "https://api.postpeer.dev/v1/analytics?source=platform&platform=instagram&accountId=your-ig-id&limit=20" \
  -H "x-access-key: YOUR_API_KEY"
Each call costs 1 credit regardless of how many media items come back.
What's next
That covers single images, reels, scheduling, and cross-posting. If you're building anything that publishes to Instagram at scale, this is the fastest way there.
Full reference is on the Instagram posting API page. Edge cases and advanced options are in the API docs.
If you're just getting started, the free tier includes 20 posts so you can test the whole flow without paying. Or play with the free Instagram post scheduler for a no-code version.